Sometimes you just can't afford to replace stuff, so I always try to find the next best remedy. Usually it's paint! This time it was just what I needed to freshen up the yellowing skirting.
It's been over ten years since I painted the house, so it's no wonder it was starting to look ragged. Especially the places where there aren't any gutters overhead. I imagine years of rain splashing mud up on the skirting has discolored it.
So here's what it was looking like.
Yuck, right? Well I had this great idea to paint it the color of the trim, instead of the house color, just to add a little life. Well, let me tell you how hard it is to match ten year old paint! But I only got it wrong once before I decided to take in a sample of the trim color (luckily I still had it).
A couple of nice afternoons and two coats of paint, and wala!
So the winterizing has begun here. Wrapping up some outdoor projects like treating the roof moss and cleaning the chimney and awning.
The front porch mudroom is cleaned out and the snow shovel is handy (not like last February when I had to wade through the snow to get to the shed, lol).
The firewood is in, stacked and covered. I'll be wrapping up the hoses in October and winterizing the outdoor faucets. It could be an early winter for us as our mountains are already getting their first snow!! That's about one or two months early.
Hope you all are enjoying your end of season wrap.
Till next time!
Showing posts with label paint. Show all posts
Saturday, September 28, 2019
Wednesday, February 13, 2013
Bringing it all Together
Updating the kitchen has been a long process for me, my followers have been very patient as I very slowly make progress and I thank you!!! I am happy to say that I have finally reached what I would say is 98% completion. With only one small wall to paint and shelve, I am relieved to report that the main part of the kitchen is FINISHED!!!
The two big projects seem so small now, in retrospect. The wall shelves and window trim and sill. But deciding on wood, hardware, style and budgeting for it seemed to drag on.
The back-splash is also done! I decided on simple 3.5 inch pine for the window trim and 4 inch for the sill. I still need to insert inner trim around the edges.
I think it all came together rather nicely - but mostly how I wanted it. Here is a before and after view.
![]() |
| before |
![]() | |
| after |
It's finally got a "finished" look! I wold say that the total cost for paint, shelves, hardware, and curtains was under $200.
It's a wonderful feeling when you complete something all on your own. Pride of ownership, pride of workmanship.
You're not seeing the left side of the kitchen just yet as that is the last small wall to paint and shelve. But just to the left of the cabinet in the picture above, is a counter and wall space - I'm eager to get this done!
So now the "look" is complete. What do you think?
You can click on any of the images and scroll through them for a larger view.
Saturday, February 2, 2013
Kitchen Progress!
I know some of you have been waiting for me to finish the kitchen and let me tell you - so have I!
But it has been a slow process.
However, there has been some recent progress I can finally share with you.
On the opposite wall I made a very simple utensil rack with pine and white nails.
I haven't decided yet if I want to add trim to the wood, or just leave the racks super simple like the are. What do you think?
My other ongoing project has been a mosaic back-splash for above the kitchen sink. I have been working on this for months, not because it's difficult, there has just been a lot of lag time in between phases. I finally got the stone mosaic tiles attached to the piece of wood I wanted for the space.
I have had these tiles for years, probably out of style now, so it was a good thing I had enough!
Next I got the tile adhesive and grout in one mixture, perfect color, sand.
I love how this turned out!
So there's a little sampling of what has been happening around the New Pioneer pad.
But it has been a slow process.
However, there has been some recent progress I can finally share with you.
I made curtains for the lower cabinets. This fabric was an interesting find. I wanted something washable with a country kitchen feel to it. I finally settled on a painters drop cloth! You would be surprised how soft and thick this heavy muslin is. Just perfect!
I also decided on the very affordable curtain rod and clips found at the local hardware store.
This is the cabinet below the sink, and the horizontal board across the top covers a big gap. I thought I would just fill the screw holes with wood putty, then decided on these wooden buttons instead!
On the other side of this tiny kitchen are the matching set of curtains.
There used to be a set of four drawers here, very small and useless in my opinion, so I took out the bottom three and added this cabinet door. Inside I can store cookie sheets and pizza pans.
I mixed the accent color myself for the drawer and cabinet door.
The cabinets above are the same two tone colors with pine trim at the ceiling.
The other thing I've been working on is the wall above the stove and the two side walls. As you know I originally installed shelves with metal brackets. Well, when I painted the new creamy color I wanted pine accents instead.
Needless to say I am still hunting for the right shelves above the stove, but have made two racks for the side walls.
This pan rack was the result of a shopping trip to an antique store where I found the black wrought iron piece. I decided to attach it to a nice piece of pine wood. The pans hang from "S" hooks.
On the opposite wall I made a very simple utensil rack with pine and white nails.
I haven't decided yet if I want to add trim to the wood, or just leave the racks super simple like the are. What do you think?
My other ongoing project has been a mosaic back-splash for above the kitchen sink. I have been working on this for months, not because it's difficult, there has just been a lot of lag time in between phases. I finally got the stone mosaic tiles attached to the piece of wood I wanted for the space.
I have had these tiles for years, probably out of style now, so it was a good thing I had enough!
Next I got the tile adhesive and grout in one mixture, perfect color, sand.
I love how this turned out!
I've been waiting on the perfect trim so I could finish it..... still to come I'm afraid. But I did attach it to the wall above the sink anyway. You'll see it after I find that illusive trim.
So there's a little sampling of what has been happening around the New Pioneer pad.
Saturday, November 17, 2012
Dining Room Makeover
In early Fall I took on a small project in the dining room. For years I had been looking looking at half a cabinet, and an unfinished counter - left from the previous owner. I would sit and contemplate how I would remedy this while eating my meals. Since it is just me and a limited budget, the built in buffet would have to stay a dream. But with a little elbow grease and some paint I could at least make it look better.
This is the "before" shot. Not bad actually, but I did a good job of hiding the imperfections.
I actually did little damage to the wall getting the cabinet out! These old mobiles are put together with some kind of space-age like glue and staples, so sometimes removal isn't even possible.
I next removed the counter. It is about eight feet long and weighs a ton, so you can imagine my small self pulling this baby out - and not dropping it on my toes!
I patched the holes and did two coats of primer. I also painted the little cabinet there to the right. It's two shelving units from WalMart - dreadful fake wood look. Later I paint it and put on vintage handles.
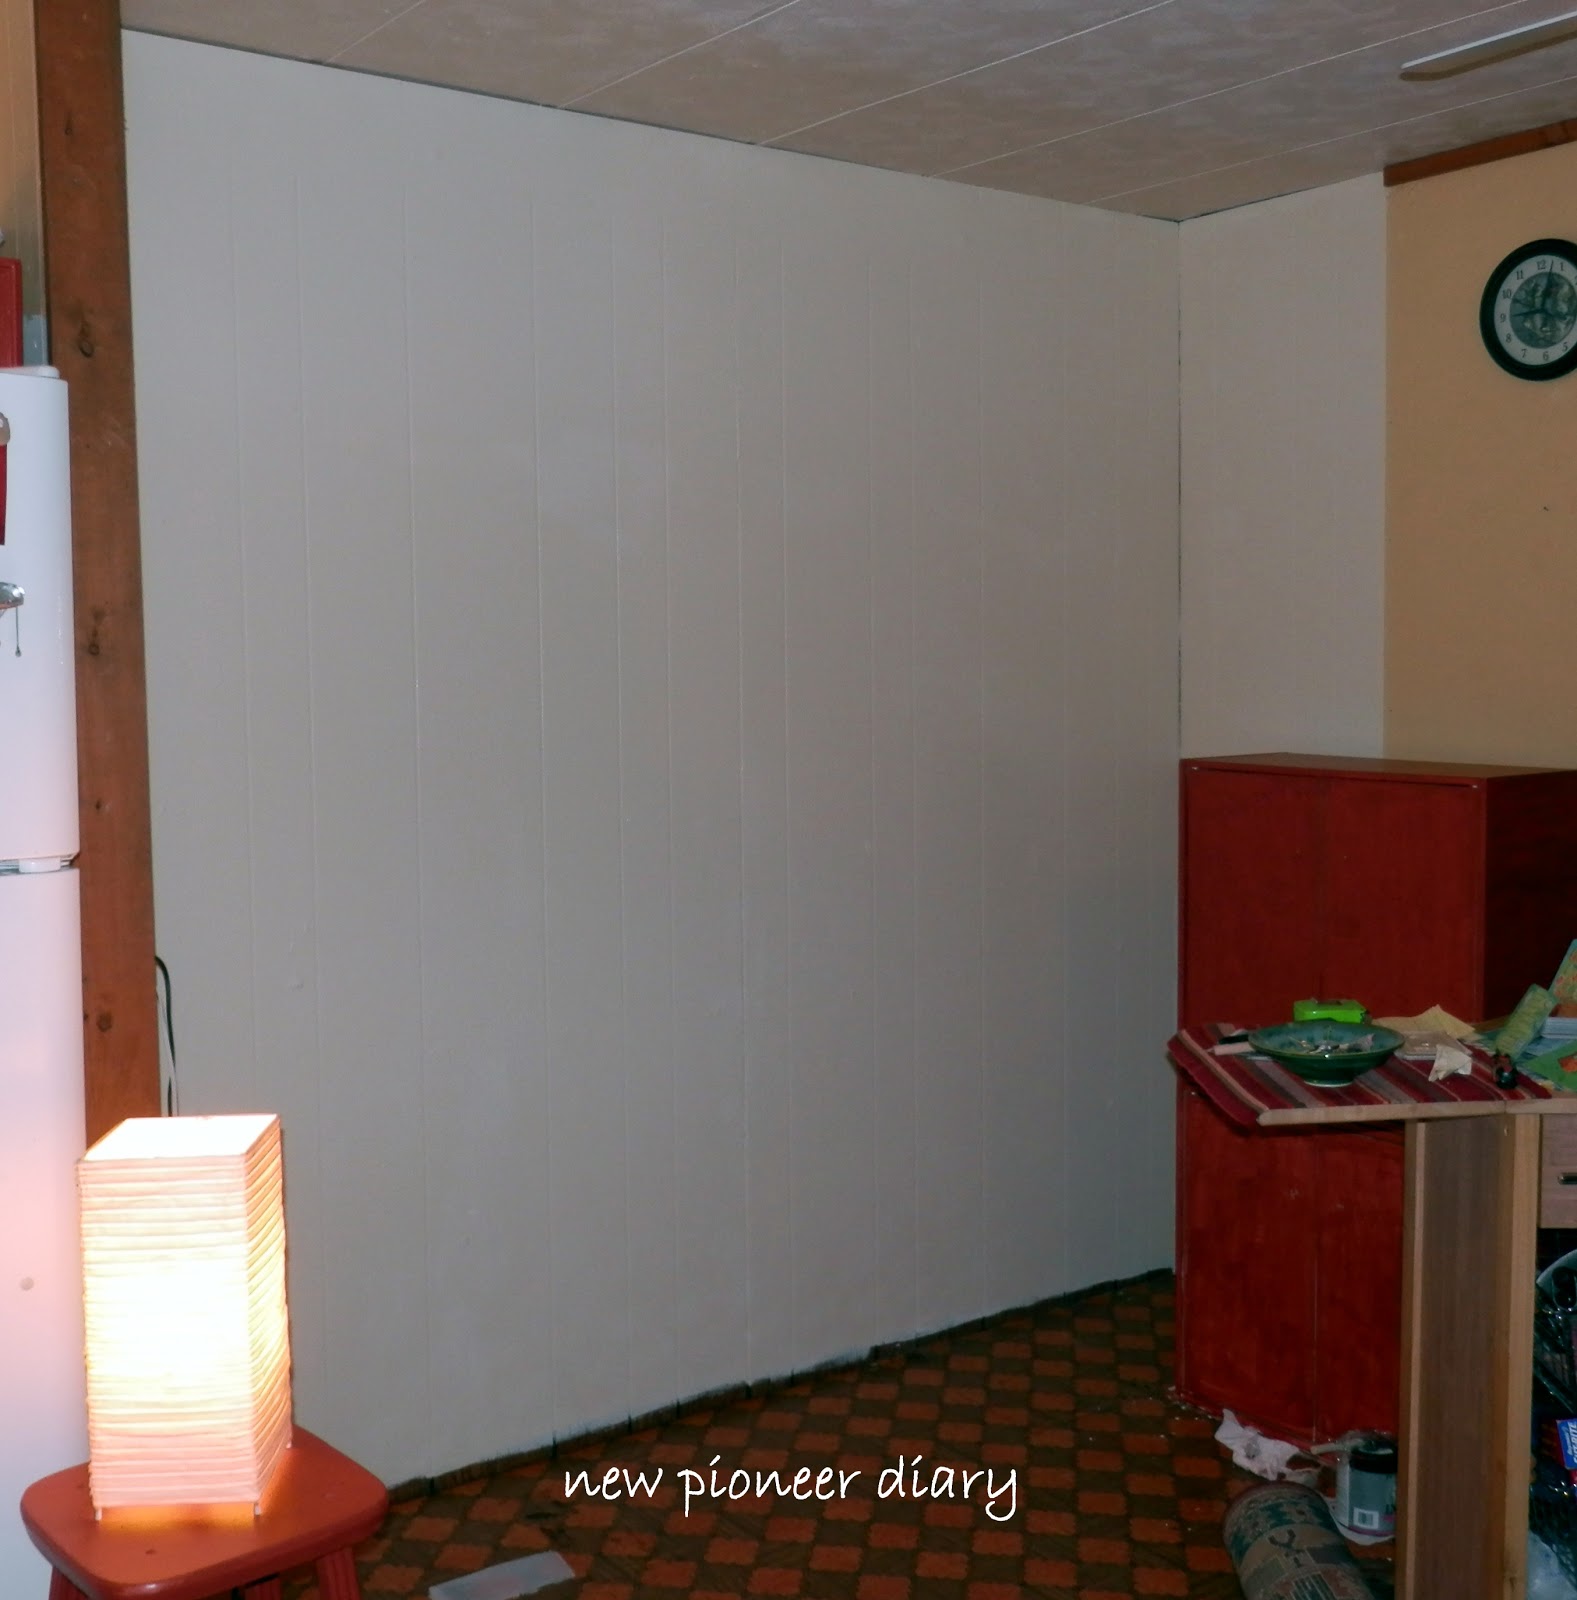
This is the finished paint, sorry, kind of a dark photo. I went with a butter cream to lighten things up.
And, back to the finished wall. Notice the stunning red cabinet with vintage handles. Perfect added storage.
I just happened to have that long shelf from another room and it fits perfect on the wall above the log shelf.
All I need to do now is add the ceiling trim - and paint that hideous orange floor!
Saturday, May 19, 2012
Magical Mud Room Makeover
![]() |
| Magical Mudroom Makeover |
Ever have a room in your house that you look at for years wondering what to do with it? My mud room has both baffled and tormented me for nearly six years. It was never finished and isn't even connected to the house, well, only at the roof. The inner walls are plywood and even they aren't completely finished.
My inclination was always to have it torn down and have a "real" front porch built - some day. Well I got tired of waiting as you all know me to do and I decided to just do "something". So I got out the white wash and painted, and painted, and painted. Things always look better painted.
My biggest dilemma was the inside of those round windows you all like. Well on the inside they are just a square piece of glass against a cut out round hole and you could see the glue. I am not that handy with the jigsaw for an inner piece, so I decided to just paint the glass!
![]() | |
| BEFORE |
![]() |
| First coat on glass |
![]() | ||
| AFTER |
So here is the dreaded plywood before the paint (above).
![]() |
| Floor before |
![]() | |
| Floor before |
![]() |
| After |
![]() |
| After |
So here is the finished look with added decor I already had (below).
There are still a few other things I want to do - that you can't see in these photos, but for the most part I am happy with how it turned out, considering what I started with!
Wednesday, January 4, 2012
Girl Conquers Kitchen!
I started this project two years ago! One woman, few power tools, small budget and a lot of determination.
The finished result was a demolition of a detaching cabinet unit, into basic shelves. This is the final result, with an additional shelf unit to the left on the narrow wall.
This is what I started with. Making the best of a semi removed cabinet.
However the real work lay ahead as I needed to remove this whole unit as it was detaching from the ceiling - and I could just imagine one more earthquake loosening the remaining two ceiling screws!
First I detached the monster range hood cover. Then, with my handy reciprocating saw and cordless drill (I call it a screw gun), I was able to detach the remaining unit - albeit not in one piece however, so scraps were flying everywhere.
Success! How about that retro era wall paper? Maybe another time. This was behind the drywall.
My most affordable option was to texture and paint this. All the while I am trying to decide if I will reattach the range hood, or get a vent-less one, or opt out all together.
Finding no solution for the monster exhaust pipe, I removed it (hole still in ceiling!), but I can easily address it with a patch of thin painted wood.
Here are the very simple shelves, hardware and boards are easily available at most hardware stores. The white boards have a smooth washable surface, perfect for a kitchen. With this kind of hardware I can easily add shelving later, or move them around when I get bored.
Note: the paint is really a lovely soft yellow, but terribly difficult to photograph.
Included here is the small narrow wall to the left. I removed the large bulky shelf from here, and painted the wall.
Now for the fun part! Placing items on the shelf. All you large family folks take note I live alone and have limited dishes, so it's a bit minimalist. I was delighted by the touch of color these few items added!
I decided to opt out of the range hood / exhaust fan all together as I'm not a fried food person anyway. But the electrical access is still available for the next tenant.
This shelf unit for the narrow wall was a complete kit in a box, perfect for this spot of only 24 inch width. I installed it high enough to be able to place things easily on the counter underneath, but low enough for me to reach the top shelf (I'm short).
Wooden cup holders are always useful in the kitchen. One was already here, and the other I picked up at a thrift store, painted them the accent color. Additionally I hung my digitally painted photograph titled "Girasole" on one wall, which really added color!
So there you have it! A DIY functional kitchen make over for under $200 in a 1972 single wide mobile home, that one woman can do on her own.
The finished result was a demolition of a detaching cabinet unit, into basic shelves. This is the final result, with an additional shelf unit to the left on the narrow wall.
This is what I started with. Making the best of a semi removed cabinet.
However the real work lay ahead as I needed to remove this whole unit as it was detaching from the ceiling - and I could just imagine one more earthquake loosening the remaining two ceiling screws!
First I detached the monster range hood cover. Then, with my handy reciprocating saw and cordless drill (I call it a screw gun), I was able to detach the remaining unit - albeit not in one piece however, so scraps were flying everywhere.
Success! How about that retro era wall paper? Maybe another time. This was behind the drywall.
My most affordable option was to texture and paint this. All the while I am trying to decide if I will reattach the range hood, or get a vent-less one, or opt out all together.
Finding no solution for the monster exhaust pipe, I removed it (hole still in ceiling!), but I can easily address it with a patch of thin painted wood.
Here are the very simple shelves, hardware and boards are easily available at most hardware stores. The white boards have a smooth washable surface, perfect for a kitchen. With this kind of hardware I can easily add shelving later, or move them around when I get bored.
Note: the paint is really a lovely soft yellow, but terribly difficult to photograph.
Included here is the small narrow wall to the left. I removed the large bulky shelf from here, and painted the wall.
Now for the fun part! Placing items on the shelf. All you large family folks take note I live alone and have limited dishes, so it's a bit minimalist. I was delighted by the touch of color these few items added!
I decided to opt out of the range hood / exhaust fan all together as I'm not a fried food person anyway. But the electrical access is still available for the next tenant.
This shelf unit for the narrow wall was a complete kit in a box, perfect for this spot of only 24 inch width. I installed it high enough to be able to place things easily on the counter underneath, but low enough for me to reach the top shelf (I'm short).
Wooden cup holders are always useful in the kitchen. One was already here, and the other I picked up at a thrift store, painted them the accent color. Additionally I hung my digitally painted photograph titled "Girasole" on one wall, which really added color!
So there you have it! A DIY functional kitchen make over for under $200 in a 1972 single wide mobile home, that one woman can do on her own.
Subscribe to:
Posts (Atom)
Most Popular Posts
-
I get more hits on this post than any other, so I decided to update it. Please keep in mind this is the budget version of a shelter I ...
-
For those of us who love our retro style trailers and mobile homes, there comes a time when more space is needed! Fortunately for me, my pl...
-
One of the best things you can do when you adopt your new retro trailer or mobile home is to upgrade those windows! These old homes are abo...