Showing posts with label shelves. Show all posts

Sunday, May 26, 2013

Spice of Life


I finally got around to finishing the paint on that one section of wall next to the stove!  
I looked for months for the perfect wooden spice rack - to no avail.

One day while in JoAnn Fabrics I spotted these two cute pine boxes.  I could see a collage of them on my wall.
However, in the end it only took two to hold my spices.  Perhaps I will add more anyway, as they really are just too cute!  And they match the pine shelves.

Wednesday, February 13, 2013

Bringing it all Together

Updating the kitchen has been a long process for me, my followers have been very patient as I very slowly make progress and I thank you!!!  I am happy to say that I have finally reached what I would say is 98% completion.  With only one small wall to paint and shelve, I am relieved to report that the main part of the kitchen is FINISHED!!!  


The two big projects seem so small now, in retrospect.  The wall shelves and window trim and sill.  But deciding on wood, hardware, style and budgeting for it seemed to drag on.


The back-splash is also done!  I decided on simple 3.5 inch pine for the window trim and 4 inch for the sill.  I still need to insert inner trim around the edges.

I think it all came together rather nicely - but mostly how I wanted it.  Here is a before and after view.

before
after
 In the future I would like to replace the large appliances for size appropriate ones.


It's finally got a "finished" look!  I wold say that the total cost for paint, shelves, hardware, and curtains was under $200.


It's a wonderful feeling when you complete something all on your own.  Pride of ownership, pride of workmanship.

You're not seeing the left side of the kitchen just yet as that is the last small wall to paint and shelve.  But just to the left of the cabinet in the picture above, is a counter and wall space - I'm eager to get this done!


So now the "look" is complete.  What do you think?
You can click on any of the images and scroll through them for a larger view.

Saturday, November 17, 2012

Dining Room Makeover


In early Fall I took on a small project in the dining room.  For years I had been looking looking at half a cabinet, and an unfinished counter - left from the previous owner.  I would sit and contemplate how I would remedy this while eating my meals.  Since it is just me and a limited budget, the built in buffet would have to stay a dream.  But with a little elbow grease and some paint I could at least make it look better.


This is the "before" shot.  Not bad actually, but I did a good job of hiding the imperfections.


I actually did little damage to the wall getting the cabinet out!  These old mobiles are put together with some kind of space-age like glue and staples, so sometimes removal isn't even possible. 


I next removed the counter.  It is about eight feet long and weighs a ton, so you can imagine my small self pulling this baby out - and not dropping it on my toes!


I patched the holes and did two coats of primer.  I also painted the little cabinet there to the right.  It's two shelving units from WalMart - dreadful fake wood look.  Later I paint it  and put on vintage handles.


This is the finished paint, sorry, kind of a dark photo.  I went with a butter cream to lighten things up.


And, back to the finished wall.  Notice the stunning red cabinet with vintage handles.  Perfect added storage.

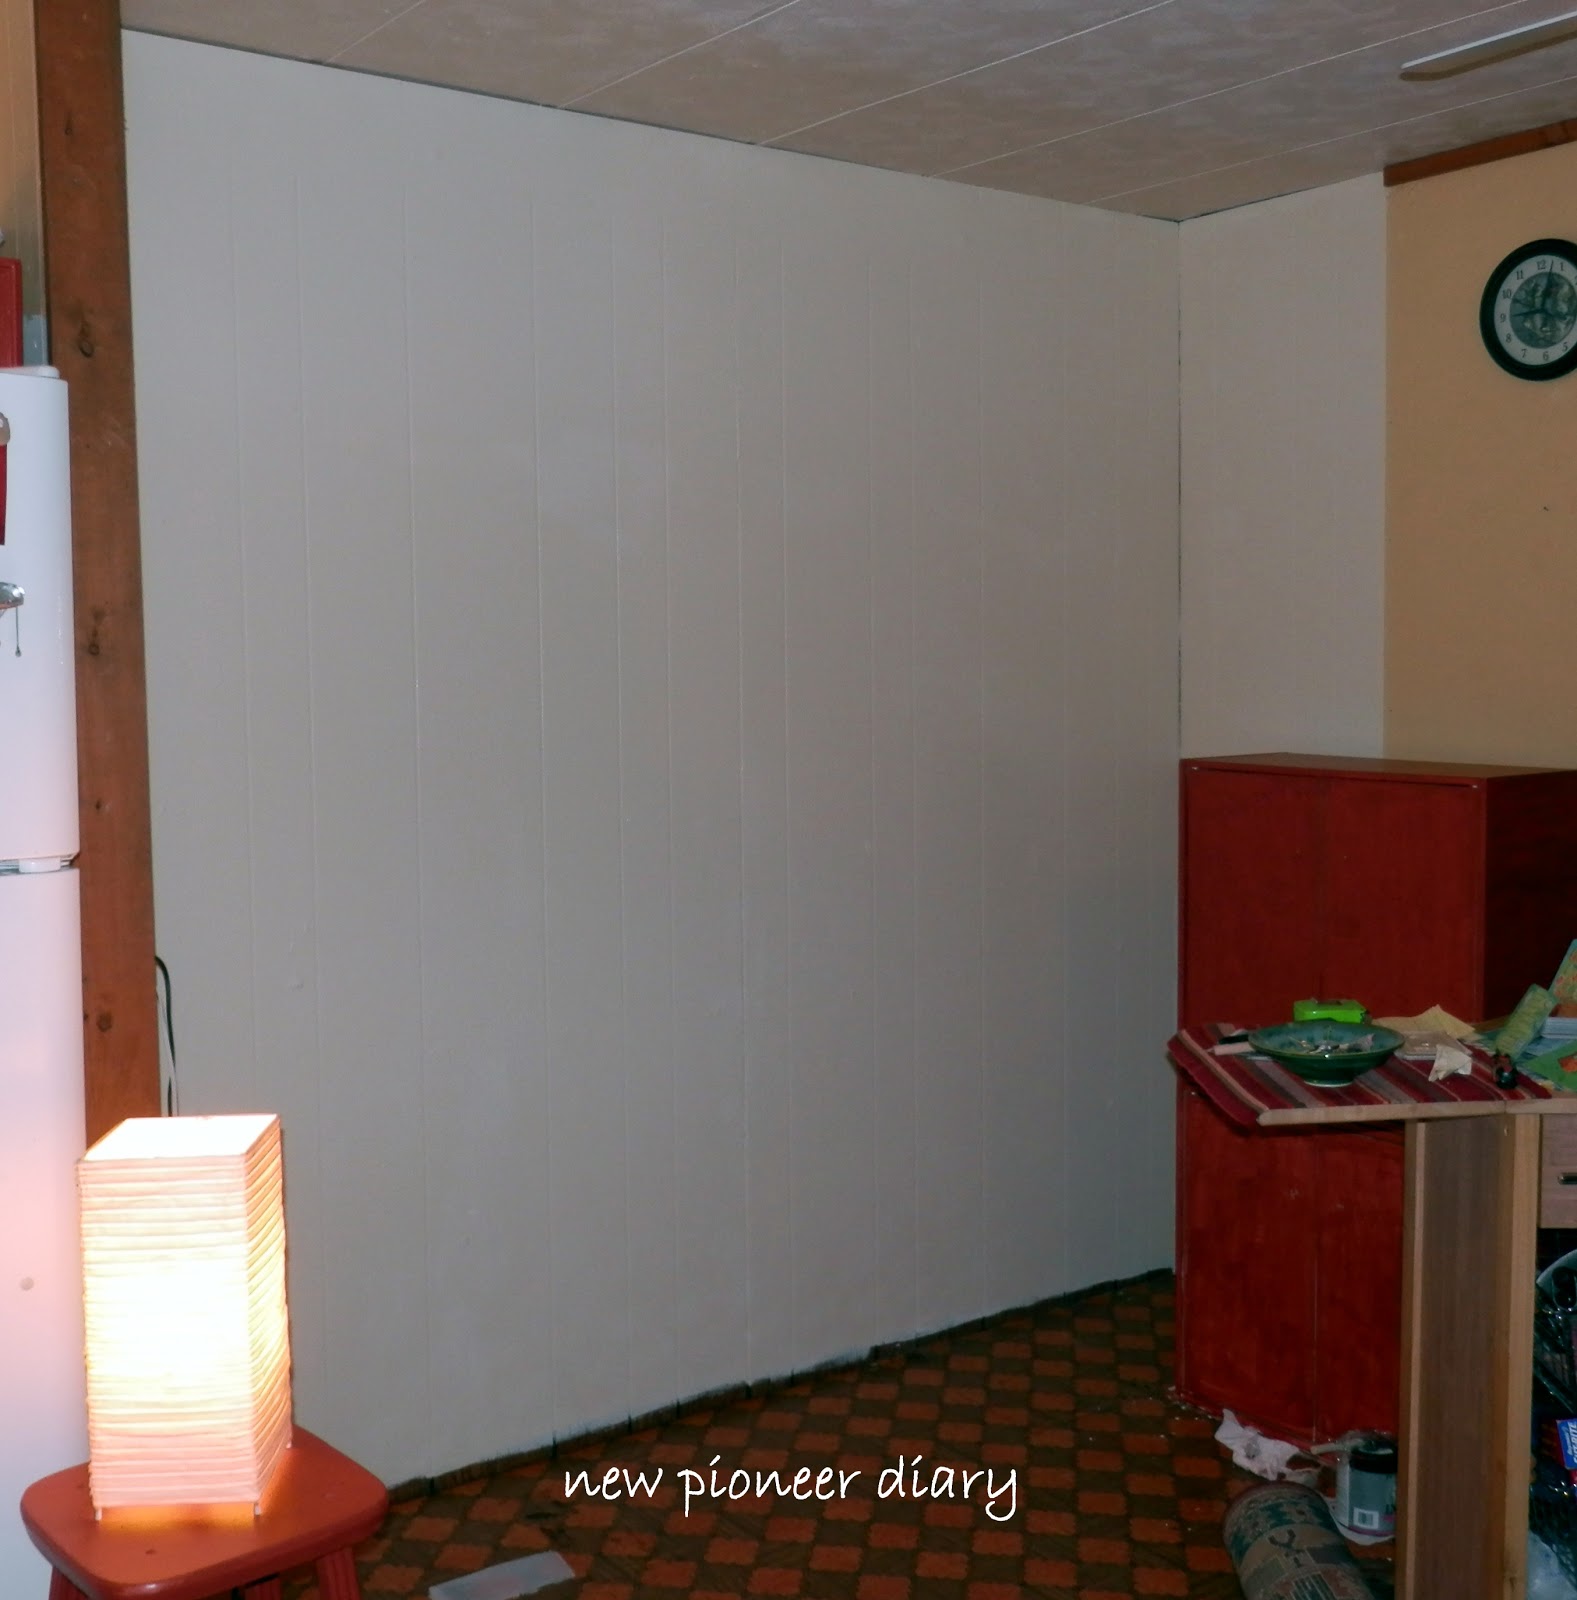
You're probably wondering why the split color on that back wall (to the right).  Well, the darker color is actually on drywall that was installed before I moved here.  Nice texture and I had already painted it, so I left it.  That color stretches around the room to the right.

I just happened to have that long shelf from another room and it fits perfect on the wall above the log shelf. 

All I need to do now is add the ceiling trim - and paint that hideous orange floor!


Most Popular Posts